Okay, So.. It's nearly Halloween again and after the success of the last pumpkin-hacking session, Ross Frazer and myself decided to take another go at it.
We are in the second year now, So we really had to up the stakes a little.
after a trip to the nearest supermarket and buying two pumpkins each, we went about trying to find some plans or designs for pumpkins... Which.. is not is great supply might I add.
After hours of searching for things we might like on our pumpkins we came across a few contenders;
 |
Similar to, but not actual picture I used
(this is much more detailed) |
I first tried the Ironman design; We'd decided that to improve the pumpkins, we would try shaving parts off the pumpkins to try and get different variations of light passing through the flesh.
In theory, we thought that although fiddly, we hoped this method would be easier because you wouldn't have floaty-bits of pumpkin which were threatening to break off at any moment.
I knew I had bitten off more than I could chew as soon as I tried to cut out the eyes of Ironman and they merged in the middle. in my defence, that design might have worked out if I had a bigger pumpkin and a bigger design. I'm a student: I can't afford big pumpkins, so parts of the pumpkin continued to merge together as I cut away at the shoulders until I had something that resembled a Nun.
At this point I gave up and threw in the towel. Well, kind of - What I actually cleverly did was stop before I completely ruined the pumpkin so that I could salvage another design on the back of the pumpkin, while pondering what I had learnt from the first attempt.
Lessons:
- No more than about 3 different depths
- Medium detail, so shading
- No Nuns
- Plan which bits to cut out
- you don't need to cut very deep to get the effect of part-light (literally millimetres)
I took a look at my second prospective picture; It had several problems - rough edges, lines that don't join, tiny teeth and a horrible tongue-like-thing.
I thought I'd try my hand at image editing.
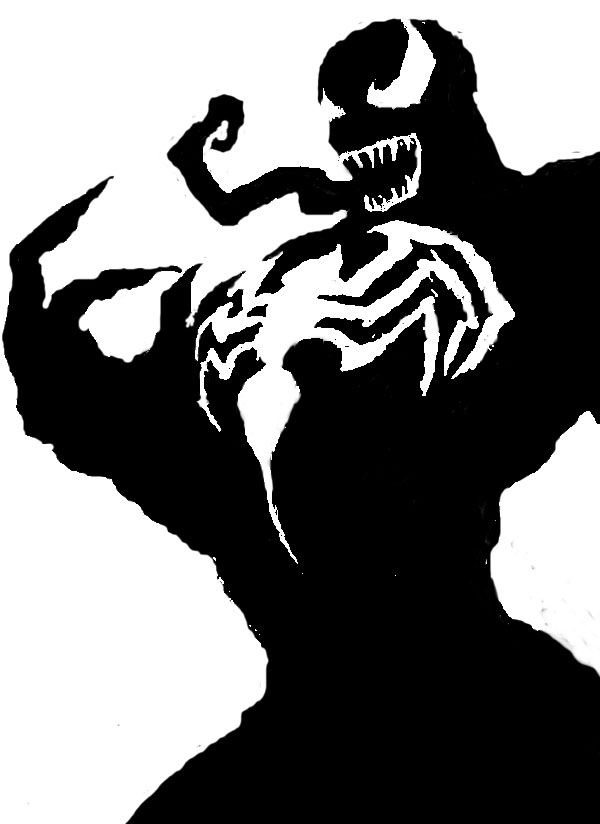
 |
| Venom - Pumpkin Template: stealer's will die! |
First thing I did was import the picture into flash, smooth the lines, and go over everything with an eraser. Then I added an outer circle. most of the rest was making lines thicker, changing colours and removing the tongue. I wasn't sure about the teeth so I left them in just in case.
Well, I was pleased in how it ended up.
While I carved, I found I had to sacrifice teeth for an open mouth as I feared. I did the spider emblem in two parts, and by the time I got to the second half (left half) it was hard to tell where the marks I made for the legs actually were, so I had to kind of make it up on the spot...
Anyway, enough rambling, here it is:
Epic - Just how I like it!
Anyway, I'd better go and find something else equally or more amazing to carve on my other pumpkin!